How to Fix a Leaky Faucet in 6 Steps (Any Type)
By Mike Holt, NJ Master Plumber · October 31, 2026 · 5 min read · Updated November 1, 2026
Quick answer
To fix a leaky faucet, turn off the shut-off valves under the sink, plug the drain, take the handle off and replace the worn part. Older two-handle faucets usually need a new rubber washer; most single-handle faucets need a new cartridge or O-rings. Take the old part to the hardware store so the new one matches.
- Difficulty
- Easy to moderate
- Time
- 30 to 60 minutes
- You need
- Adjustable wrench, screwdrivers, hex keys, replacement washer or cartridge, towel
Rather not risk it? A licensed plumber can handle this for you, with written upfront flat-rate pricing options before any work starts.
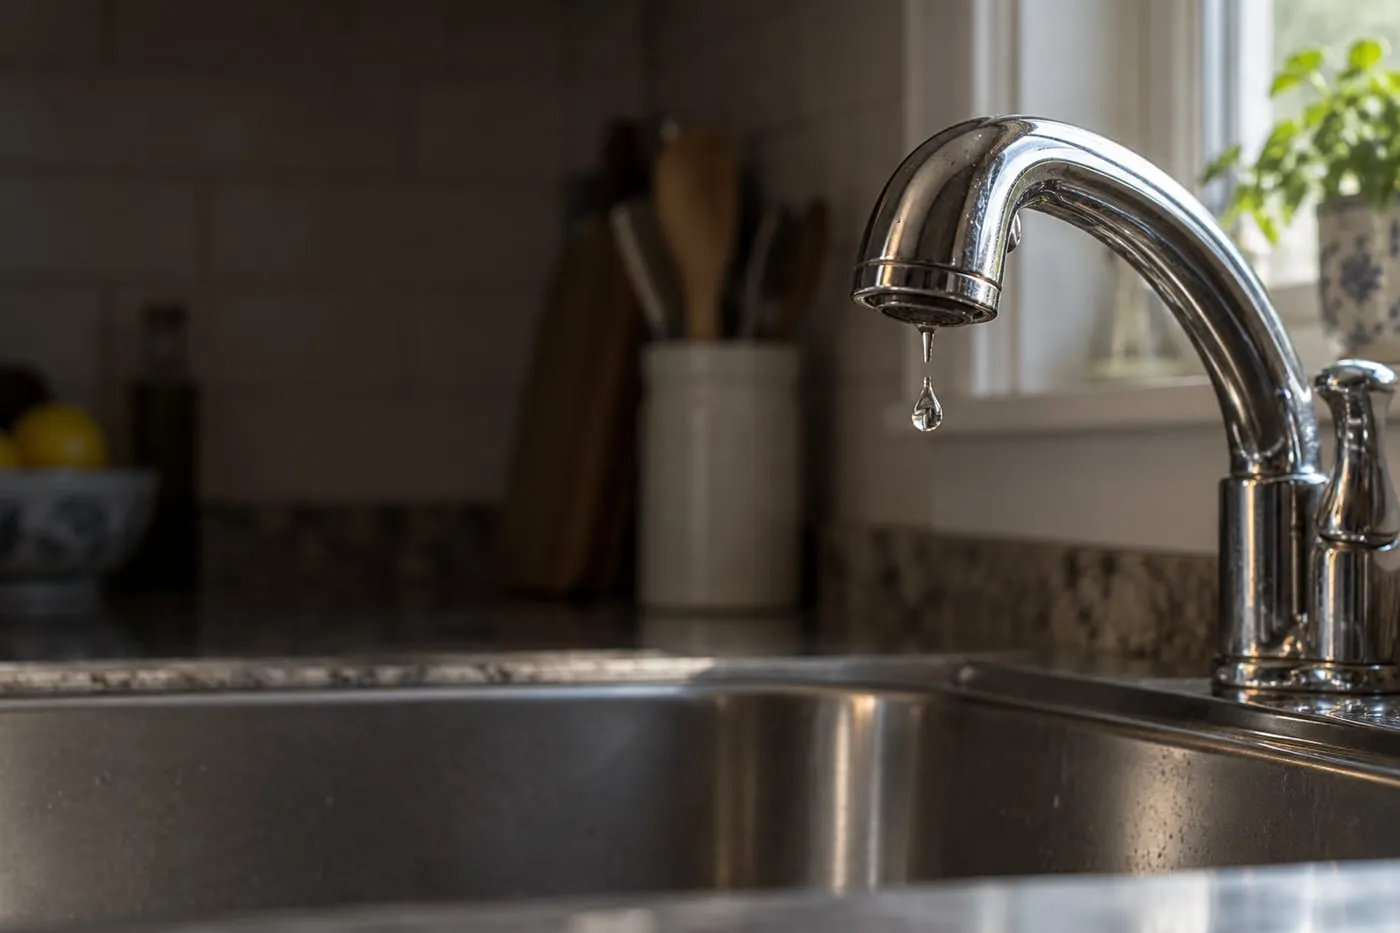
A dripping faucet wastes water every minute it drips, and most are fixed by replacing one small rubber or plastic part. The trick is knowing which kind of faucet you have, so you buy the right part the first time. Plan on one trip to the hardware store with the old part in your pocket.
Why do faucets drip?
Every faucet has a seal that closes off the water when you turn the handle off. In older faucets it's a rubber washer pressed against a metal seat. In newer ones it's a plastic cartridge or a pair of ceramic discs. Over time the rubber hardens and the plastic and ceramic wear, especially with hard water, and water slips past. That's the drip from the spout. Leaks around the handle or the base come from worn O-rings, the small rubber rings that seal the moving parts.
How to fix a leaky faucet
Step 1: Turn off the water
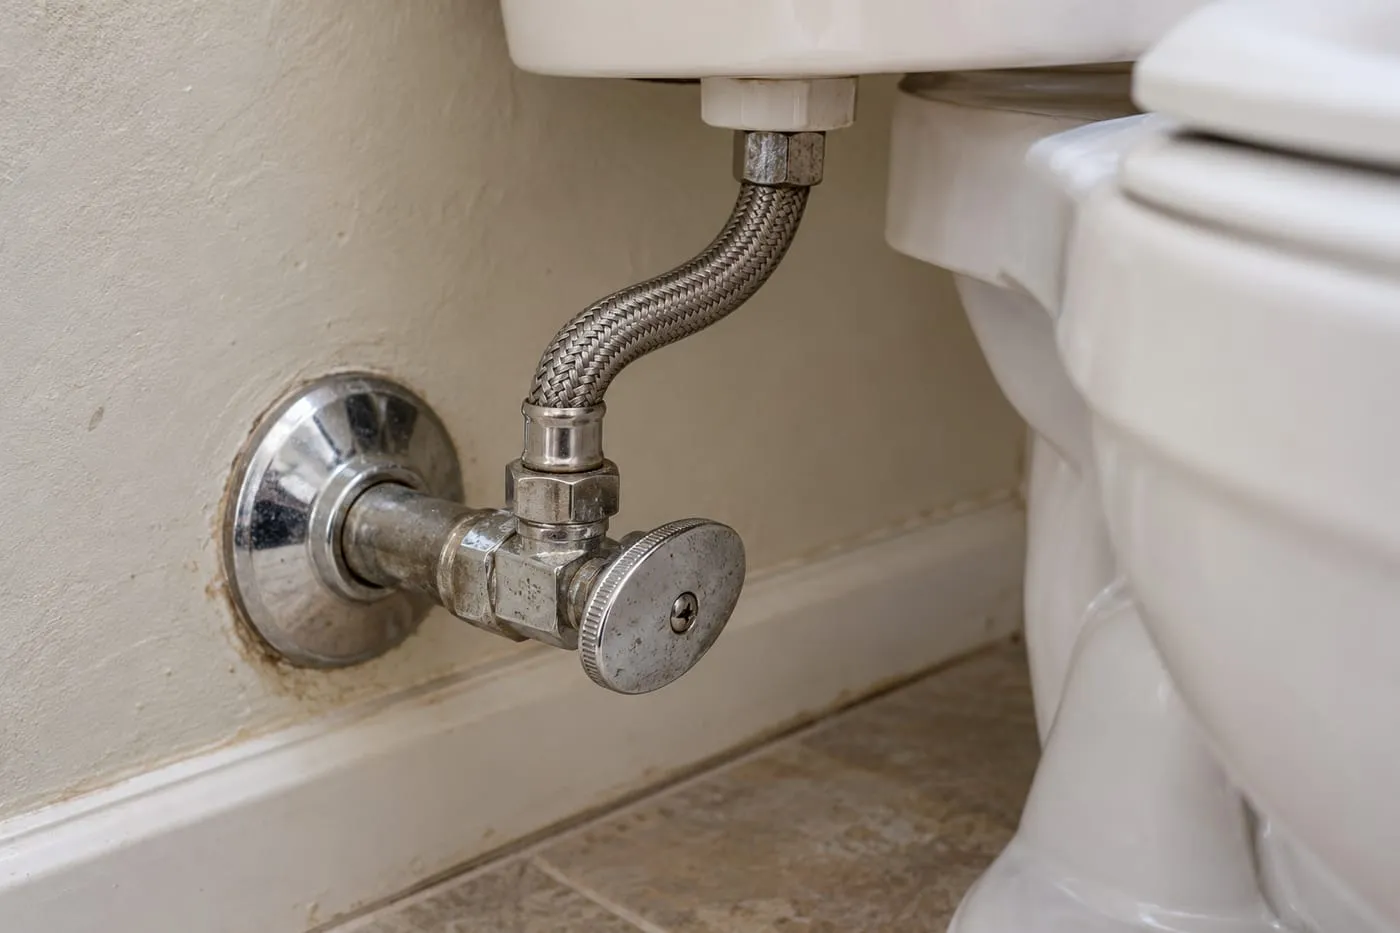
Look under the sink for two small valves, one on the hot line and one on the cold. Turn each clockwise until it stops. Then open the faucet to let out the pressure; a little water will run and stop.
If water keeps coming out, a valve isn't fully closed. Old valves that haven't moved in years can stick or start dripping at the stem when you turn them. If that happens, don't force it. Shut off the main water valve for the house instead.
Step 2: Plug the drain and lay down a towel
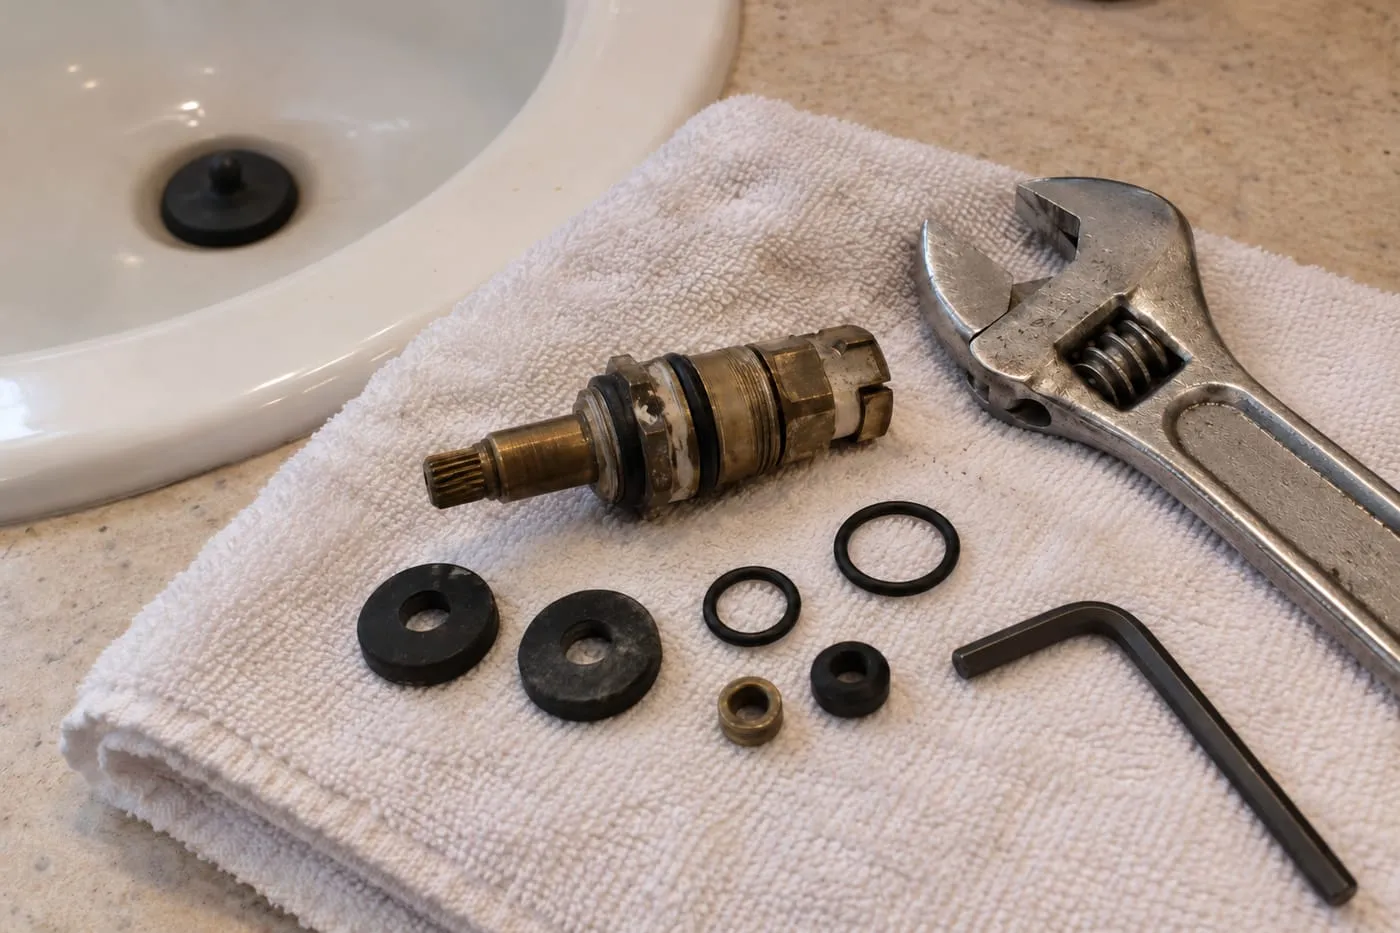
Close the sink stopper or stuff a rag in the drain. Faucet screws and clips are tiny, and the drain is right underneath them. Lay a towel on the counter and line up the parts in the order they come off. Taking a phone photo after each step makes reassembly easy.
Step 3: Find out which kind of faucet you have
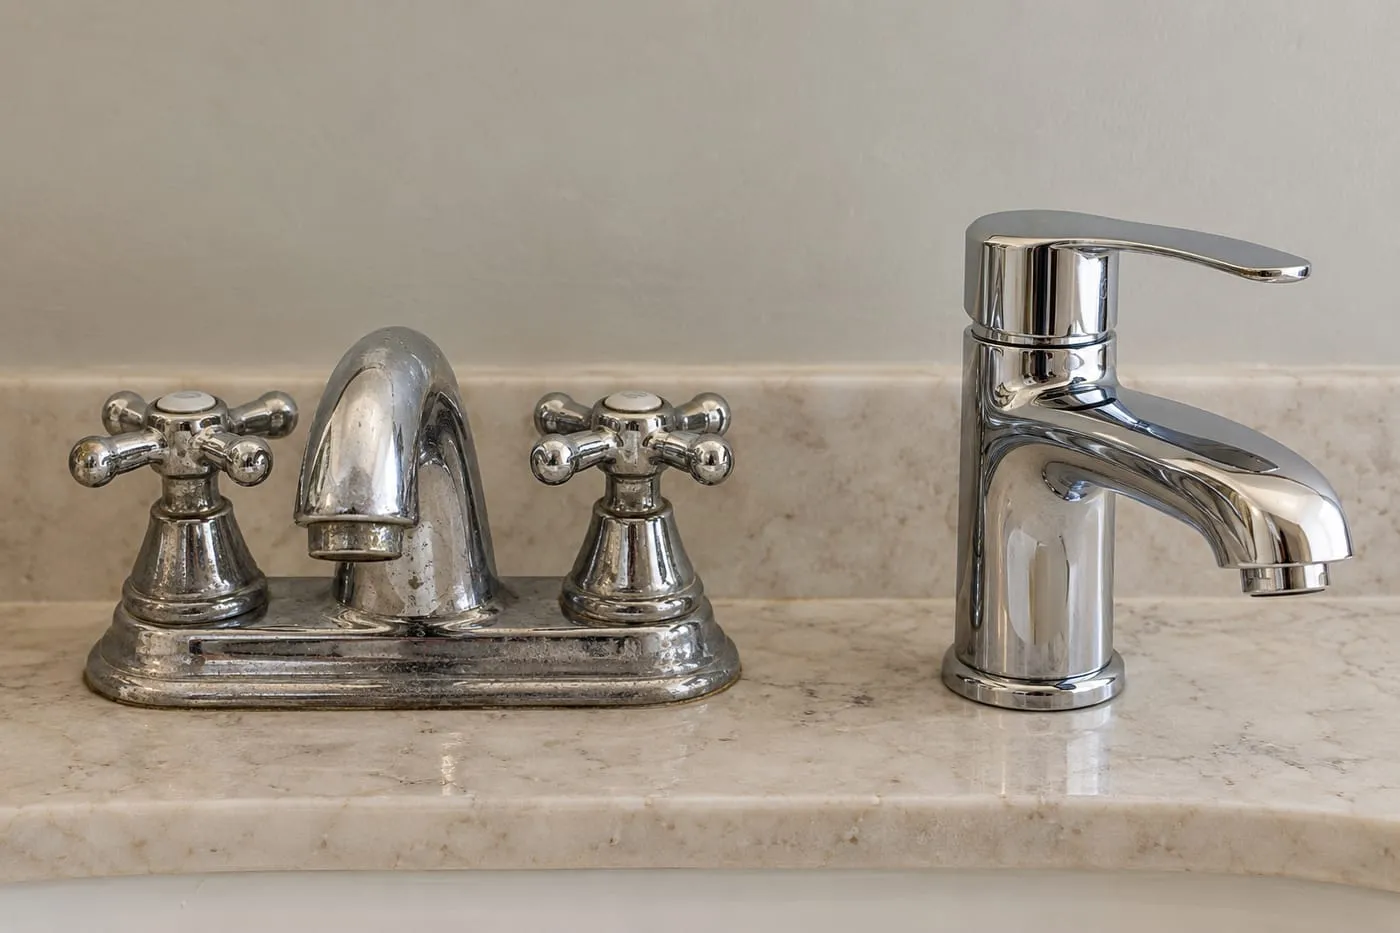
The type tells you which part to buy:
- Compression (two handles, several full turns to close, often a slight squeak): uses rubber washers. The cheapest fix.
- Cartridge (one lever or two handles, smooth quarter or half turn): uses a plastic or brass cartridge that pulls straight out.
- Ball (single lever on a round cap, common on older kitchen faucets): uses a repair kit of seats, springs and O-rings.
- Ceramic disc (single lever on a wide cylinder, very smooth): uses a disc cartridge.
If you're not sure, the brand name on the faucet and a photo usually get you the right part at the counter.
Step 4: Take the handle off
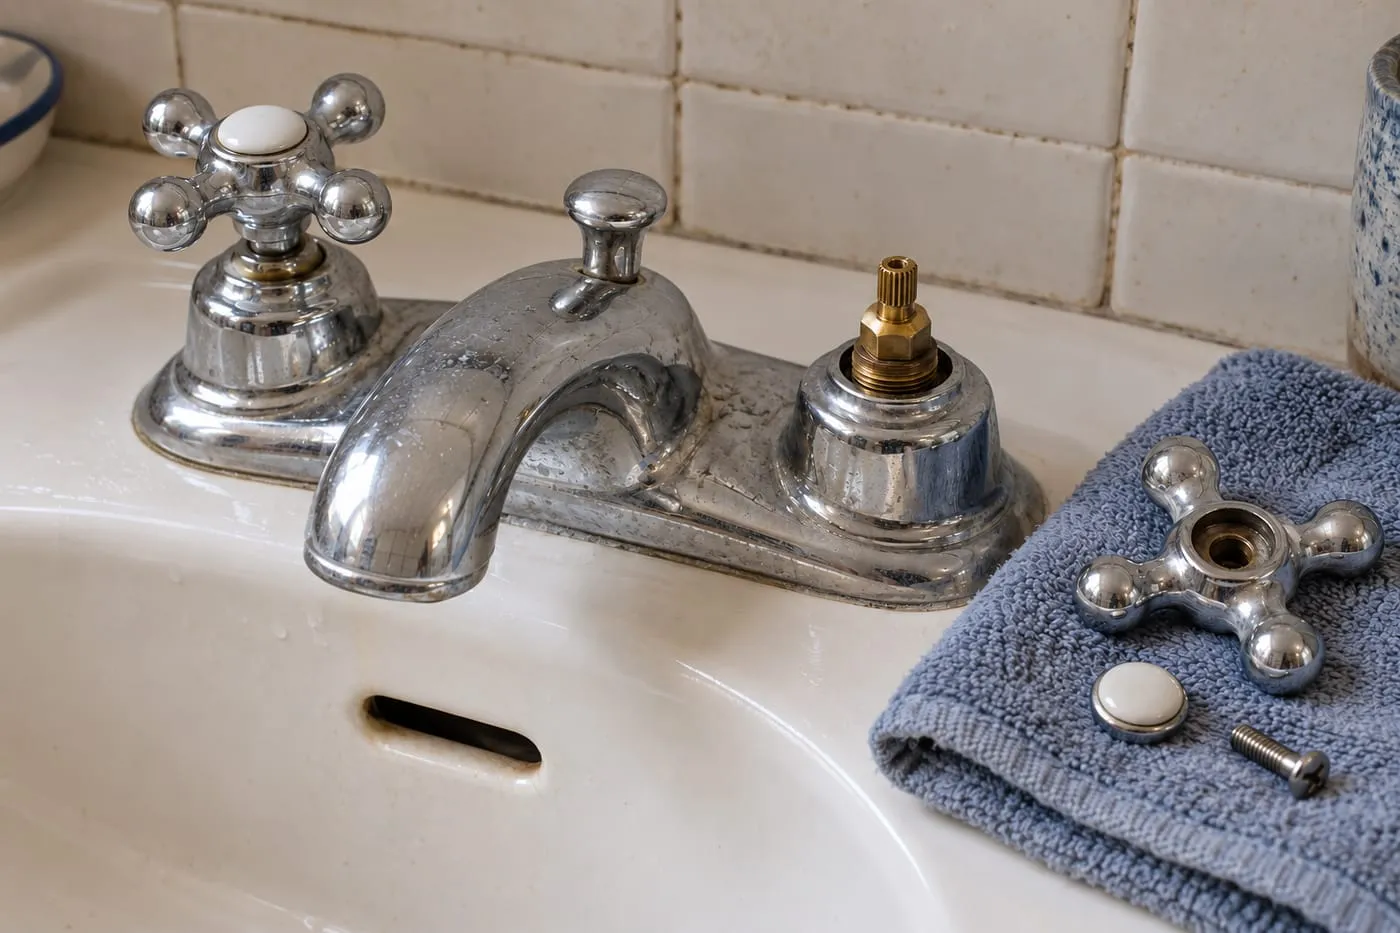
Pop off the decorative cap marked H or C with a flathead screwdriver, then remove the screw underneath. On many single-lever faucets the screw is a small hex screw under the lever instead. Pull the handle straight up.
If it's stuck, rock it gently side to side. A common mistake is prying with a screwdriver against the chrome, which scratches it. Mineral buildup is usually what's holding it; a few drops of white vinegar around the base and 10 minutes of waiting help.
Step 5: Replace the worn part
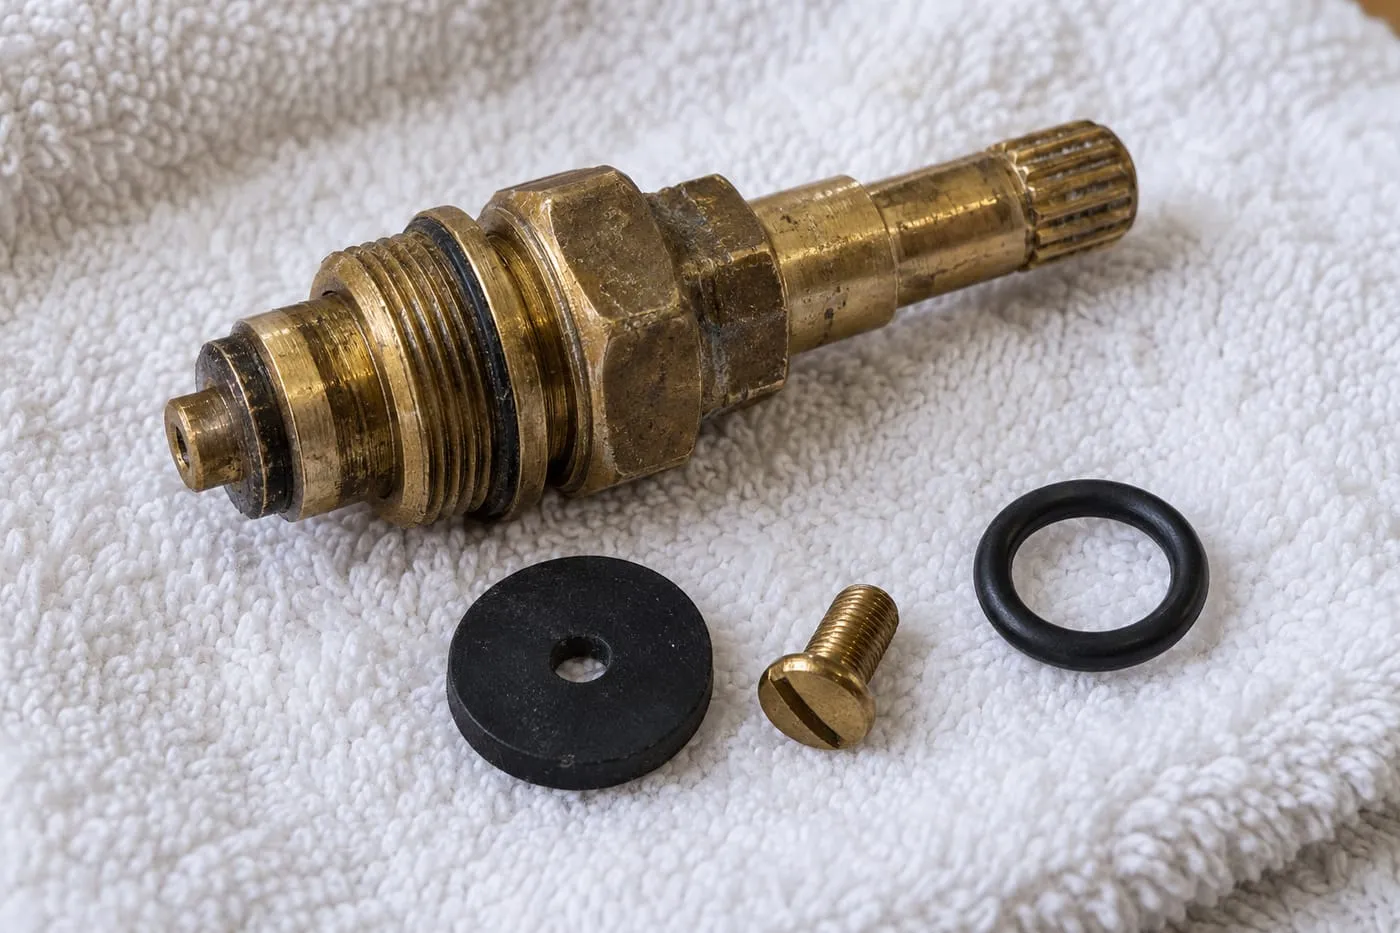
What you do depends on the type:
- Compression: unscrew the stem with an adjustable wrench. At the bottom is a rubber washer held by a brass screw. Replace the washer and the O-ring on the stem. If the brass seat inside the faucet is pitted, the new washer won't seal for long, and the seat needs replacing too.
- Cartridge or ceramic disc: remove the retaining nut or clip, note which way the cartridge faces, and pull it straight out with pliers. Put the new one in facing the same way, or hot and cold will be swapped.
- Ball: replace the seats and springs under the ball and the O-rings on the body with a repair kit made for your faucet brand.
Take the old part to the store and match it side by side. Cartridges that look alike often aren't interchangeable.
Step 6: Put it back together and test
Reassemble in reverse order using your photos. Turn the shut-off valves back on slowly, then run the faucet on hot and cold for a minute to push out air and grit.
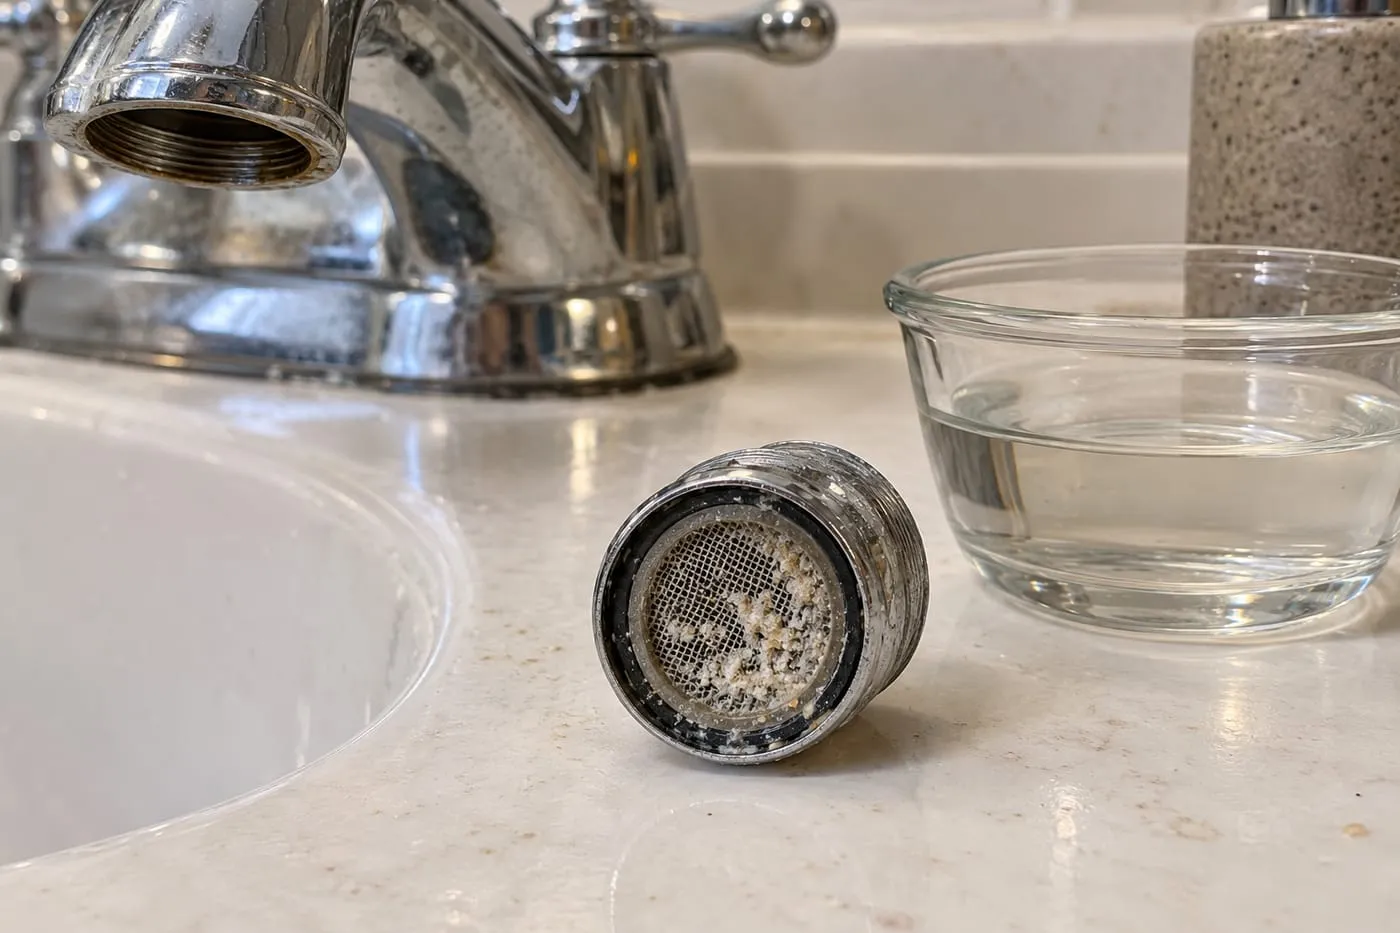
You'll know it worked when the spout stops dripping within a few seconds of turning it off and the handles turn smoothly. If the flow is weaker than before, grit from the repair has landed in the aerator. Unscrew the tip of the spout, rinse the screen and put it back.
Why does my faucet leak at the base?
On a kitchen faucet with a swivel spout, water around the base usually means the O-rings under the spout are worn. Remove the spout, roll new O-rings into the grooves and coat them lightly with plumber's silicone grease so they slide without tearing. If the water is under the sink instead, the leak is in a supply line or connection, which is a different repair. Dry everything, run the water and feel along each connection to find it.
Should I repair or replace it?
Repair it if the faucet is solid and you can find the part. Replace it if it's corroded, leaks in more than one place, or the brand no longer makes parts. A new faucet often costs little more than a hard-to-find cartridge. We repair and install kitchen and bathroom faucets across Central New Jersey, with written upfront flat-rate pricing options before we start. See toilets, faucets and fixtures.
Common mistakes to avoid
- Forgetting to plug the drain. Faucet screws are small and go straight down it.
- Overtightening. Brass threads strip and ceramic cartridges crack. Snug is enough.
- Installing a cartridge backward, which swaps hot and cold.
- Using the wrong washer size. Matching it at the store saves a second trip.
What about low pressure after the fix?
Grit knocked loose during the repair often ends up in the aerator. Our low water pressure guide covers cleaning it and the other causes. Our plumbing emergency checklist shows where every shut-off valve in the house is, so you're ready before the next repair.
Get tips and reminders
New guides and seasonal reminders. A few emails a year.
Stop and call us if
- The shut-off valves under the sink won't turn or start leaking when you turn them.
- The faucet body is cracked or water leaks from under the sink.
- Parts are corroded in place and won't come out without force.
- It still drips after you replaced the washer or cartridge.
- You'd rather replace the whole faucet.
Call 908-873-6686.

Michael Holt
Owner and operator of Plumbing Doctor, NJ Master Plumber (Lic. #36BI01345600) and U.S. Marine Corps veteran.
More about Mike