Spring Plumbing Maintenance Checklist: 8 Steps After Winter
By Mike Holt, NJ Master Plumber · February 25, 2025 · 3 min read · Updated November 1, 2026
Quick answer
After the last freeze, turn on each outdoor faucet and check inside for leaks, test the sump pump with a bucket of water, clear the gutters and downspouts, look over exposed pipes for winter damage, check the water heater for rust or leaks, dye-test the toilets and clear any slow drains before the spring rains.
- Difficulty
- Easy
- Time
- 1 to 2 hours
- You need
- Bucket, flashlight, food coloring
Rather not risk it? A licensed plumber can handle this for you, with written upfront flat-rate pricing options before any work starts.
Freezing weather can crack pipes and outdoor faucets without showing any sign until spring, and spring rains test every sump pump. Do this checklist once the last frost has passed. It takes an hour or two.
Your spring plumbing checklist
Step 1: Turn on the outdoor faucets and check inside
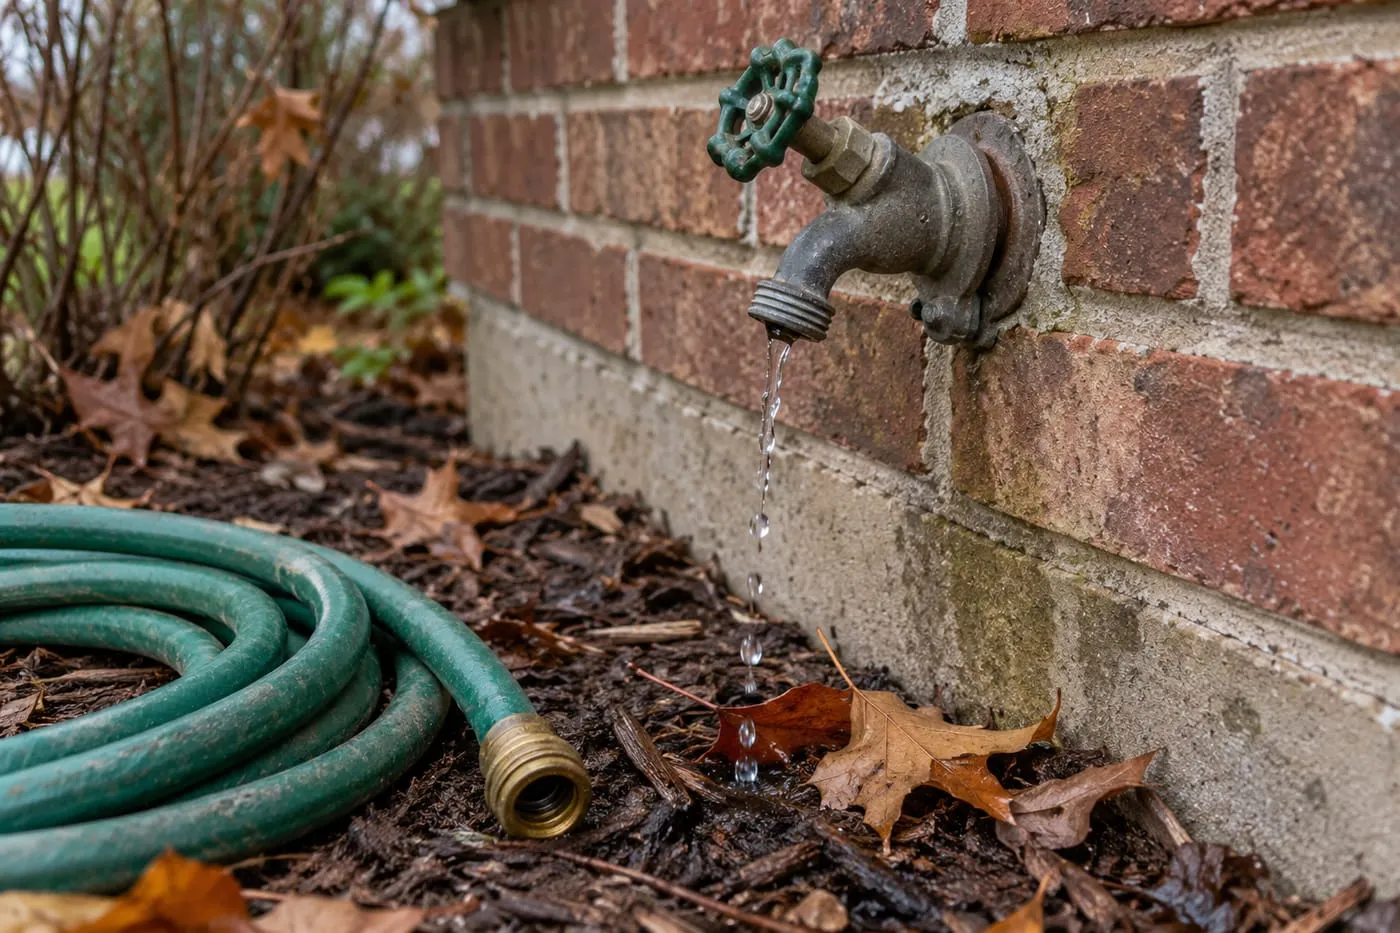
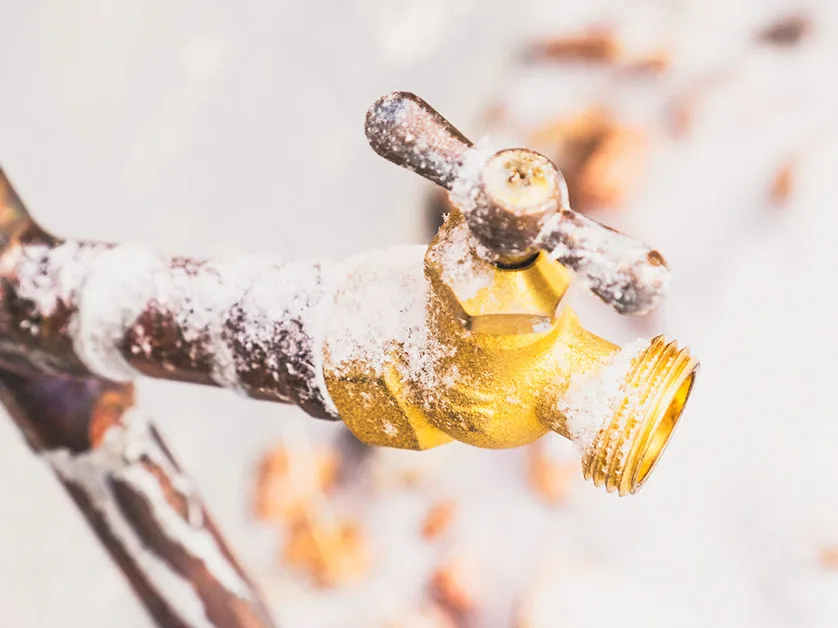
Open the indoor valve for each outdoor faucet, then turn the faucet on while someone watches the basement or the wall behind it. Water dripping inside or weak flow outside means the faucet or pipe split over the winter. See the spring check in our outdoor faucet guide.
Step 2: Test the sump pump
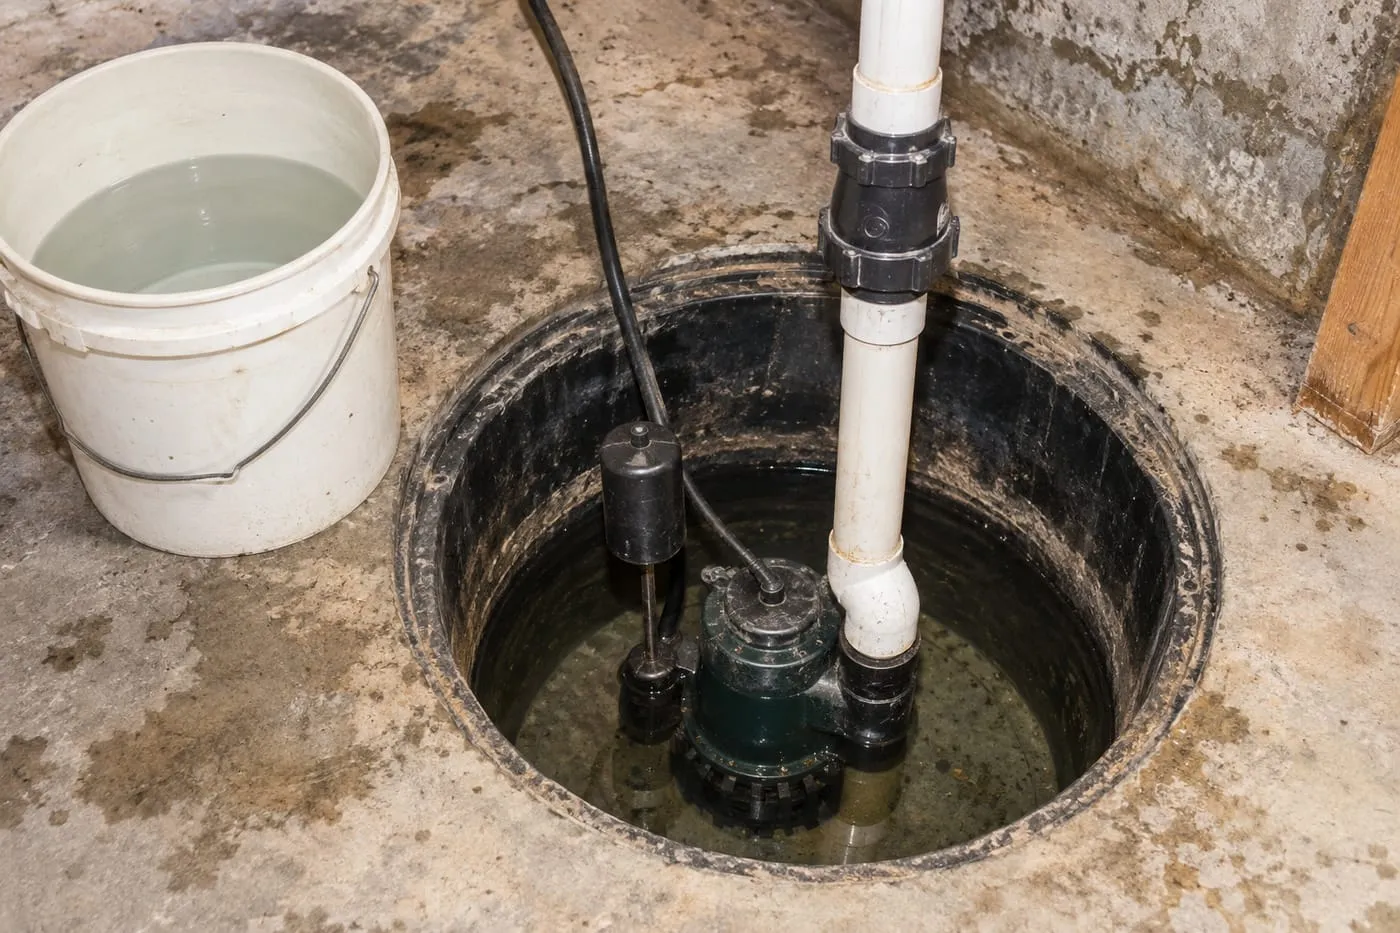
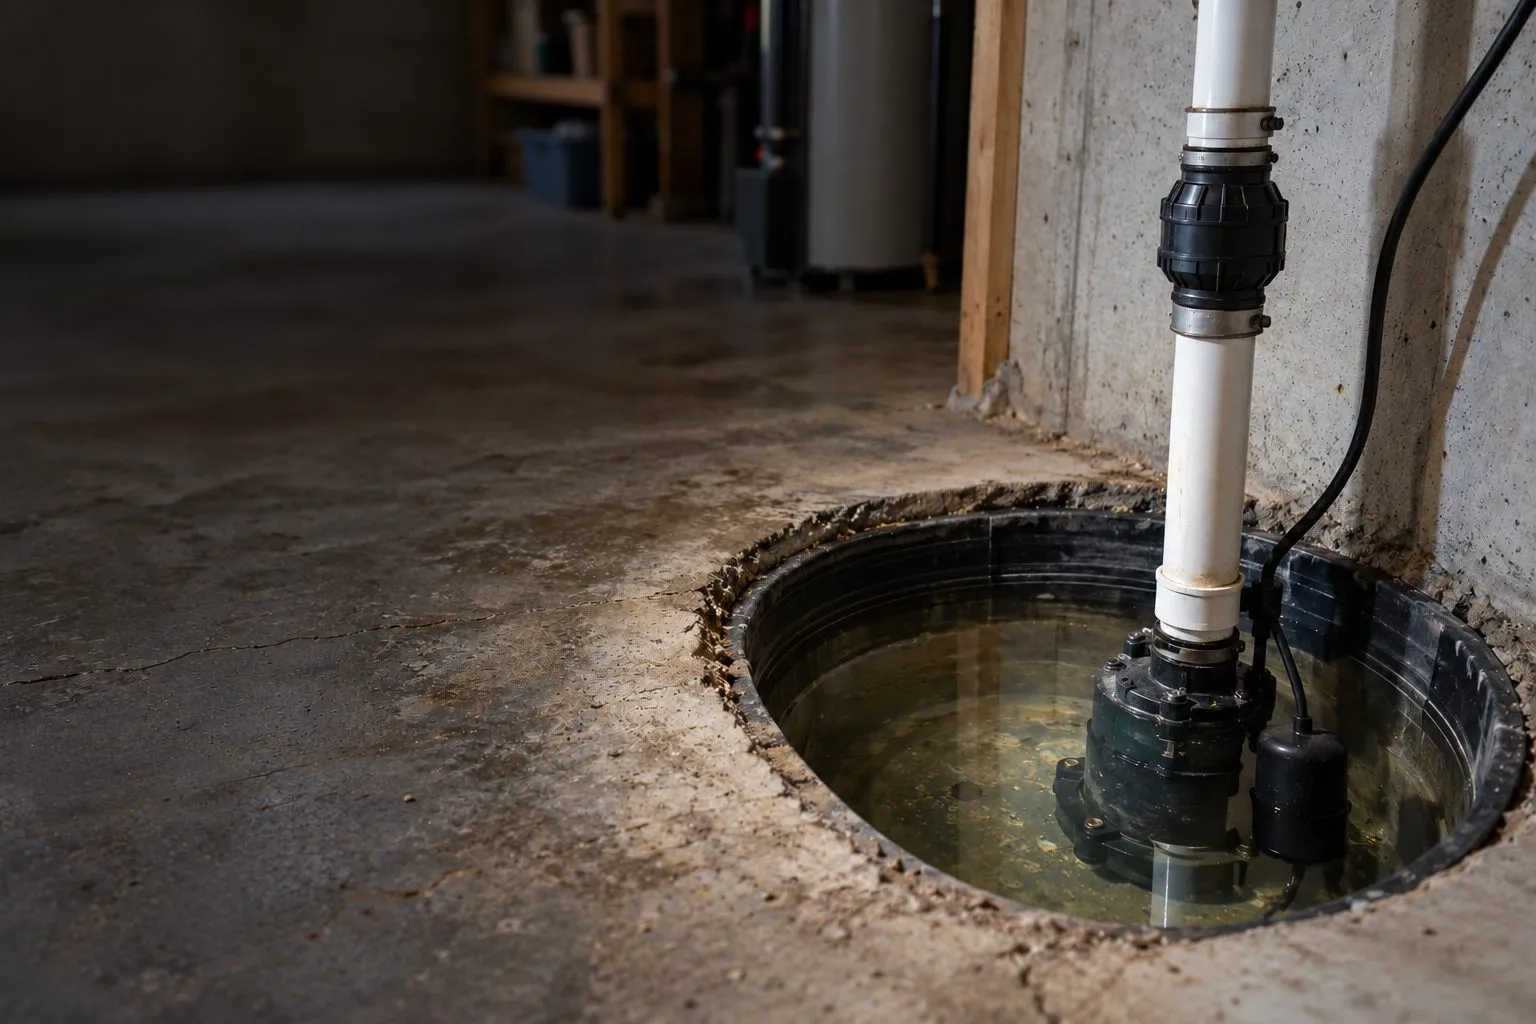
Stand somewhere dry and pour a bucket of water slowly into the sump pit. The pump should start, empty the pit and shut off on its own. Don't touch a plug, outlet or pump if there's standing water. If you have a battery backup pump, test it too and check the battery's age. See sump pump service if it doesn't run, or if the power or discharge looks questionable.
Step 3: Clear gutters and extend downspouts
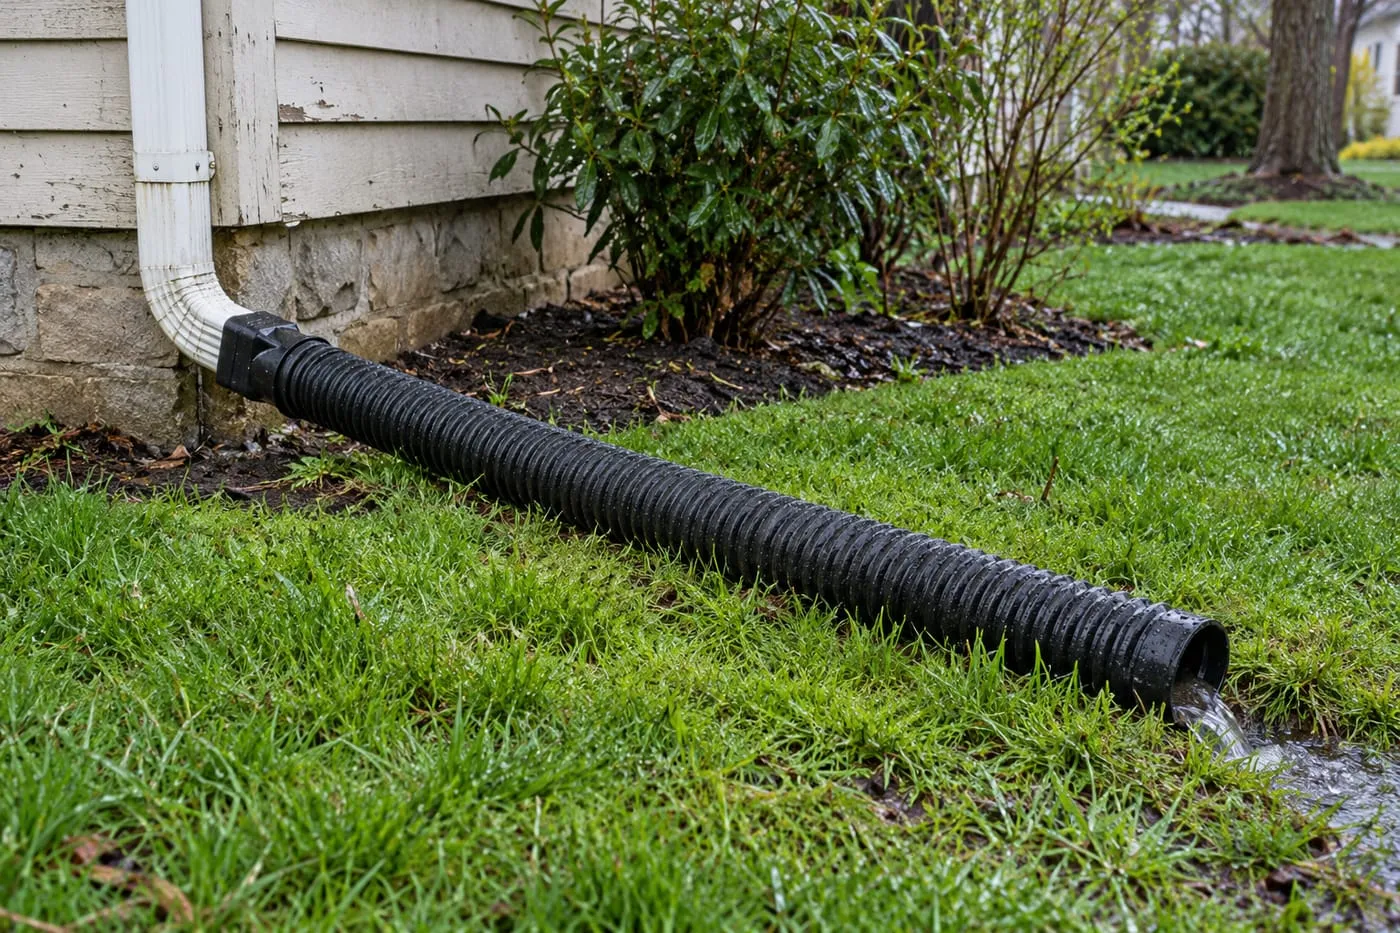
Clogged gutters dump water right at the foundation, and that water ends up in the sump pit or the basement. Clean them out and make sure each downspout sends water several feet away from the house.
Step 4: Look over exposed pipes for winter damage
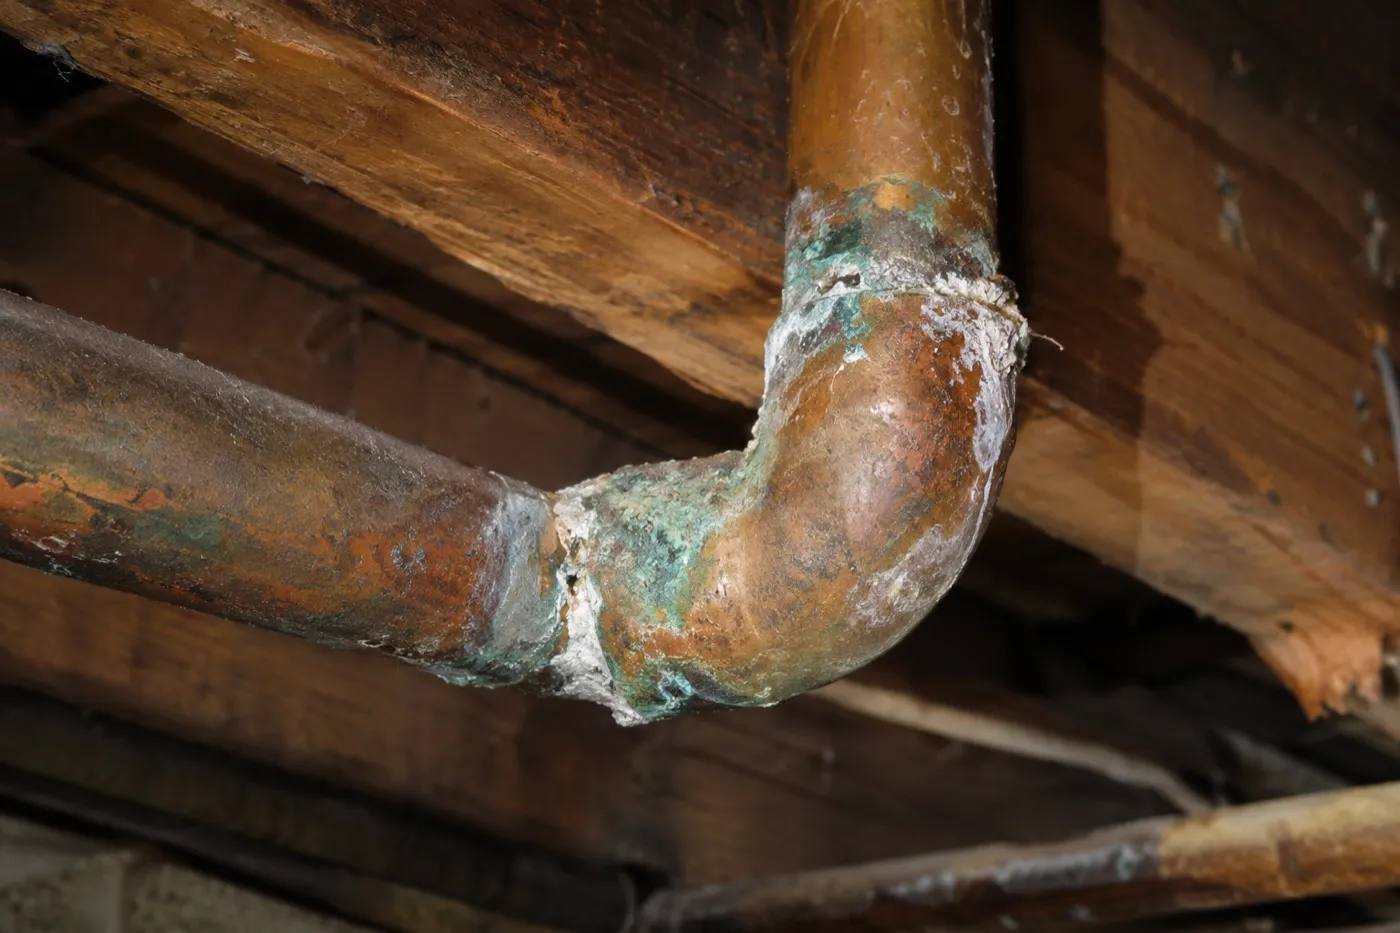
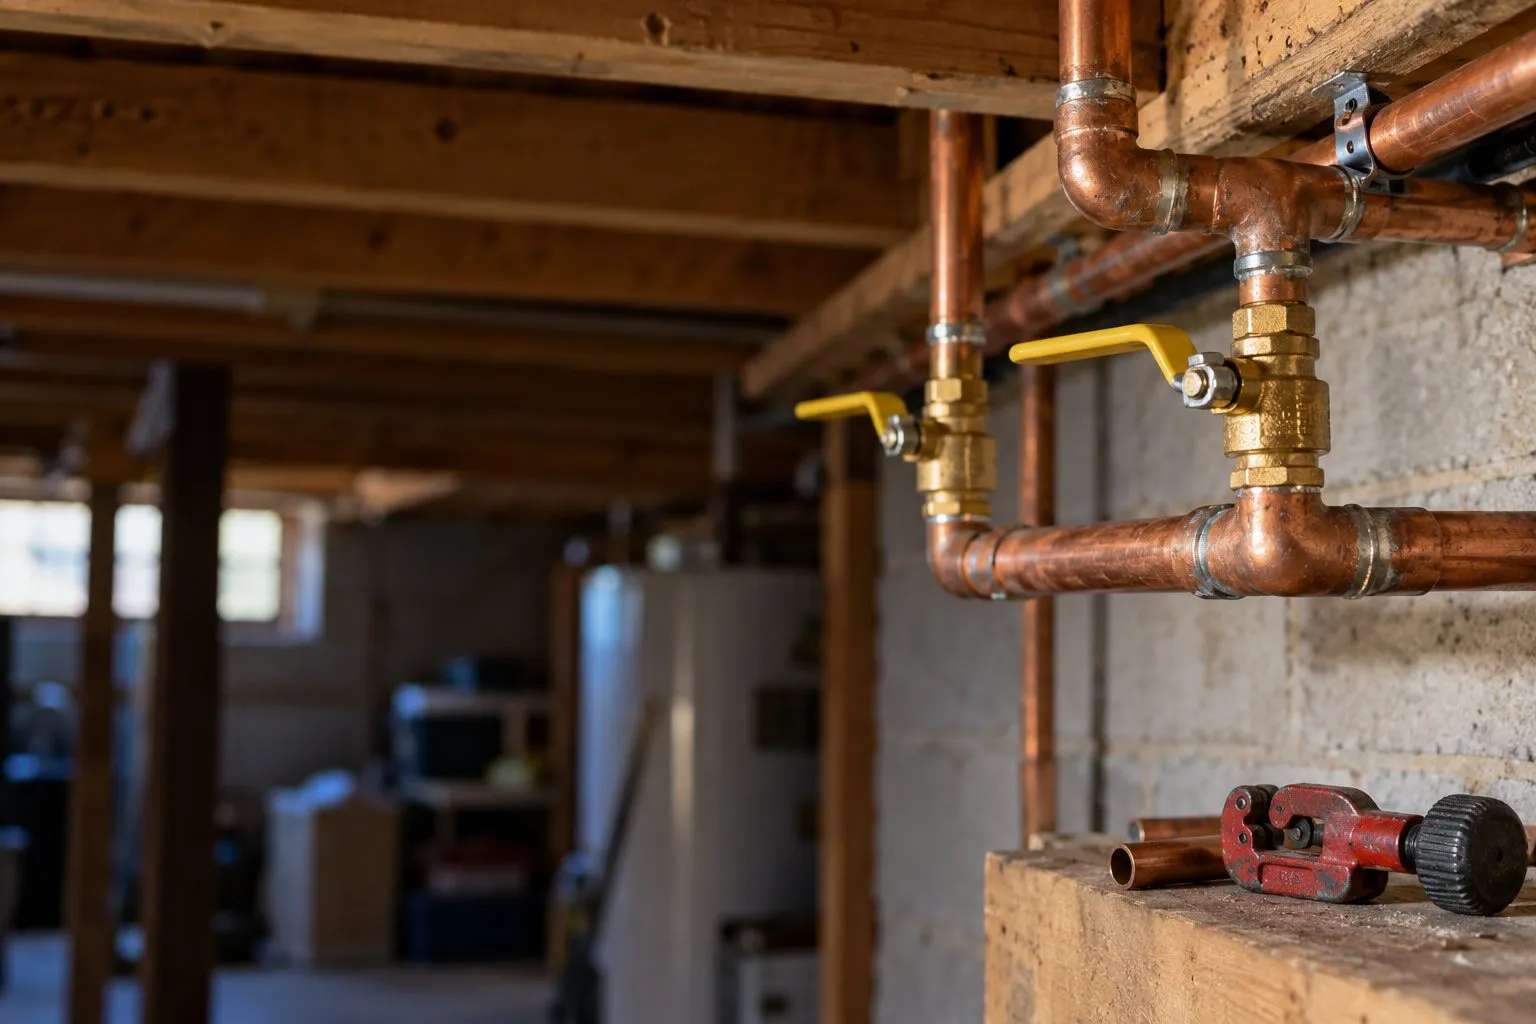
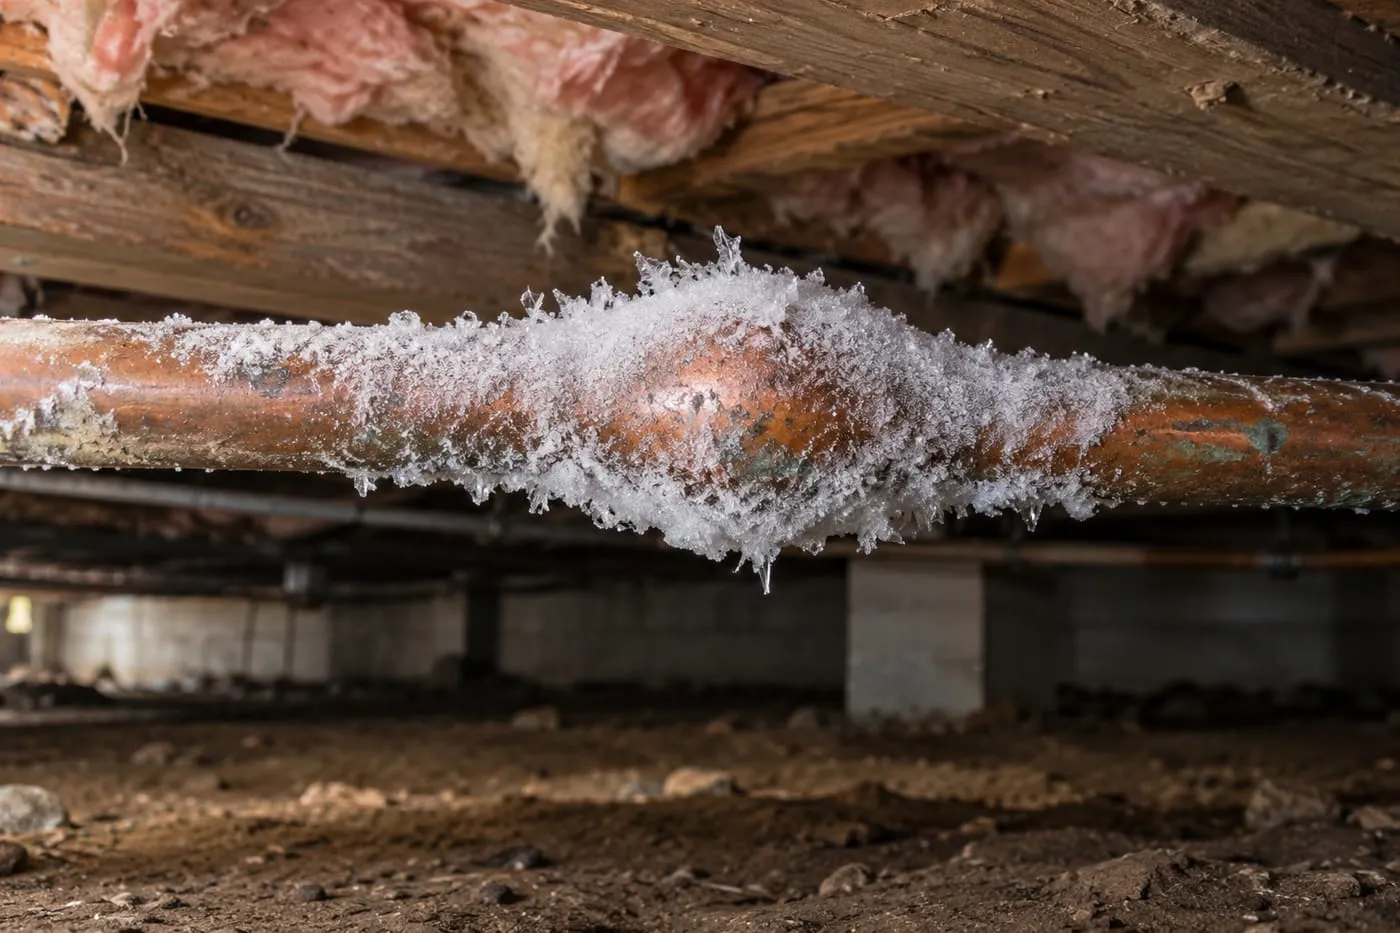
With a flashlight, check the pipes in the basement, crawl space, garage and attic. Look for drips, water stains, white or green crust on fittings, and any pipe that looks bulged. Damp insulation is a sign of a slow leak.
Step 5: Have the water heater checked
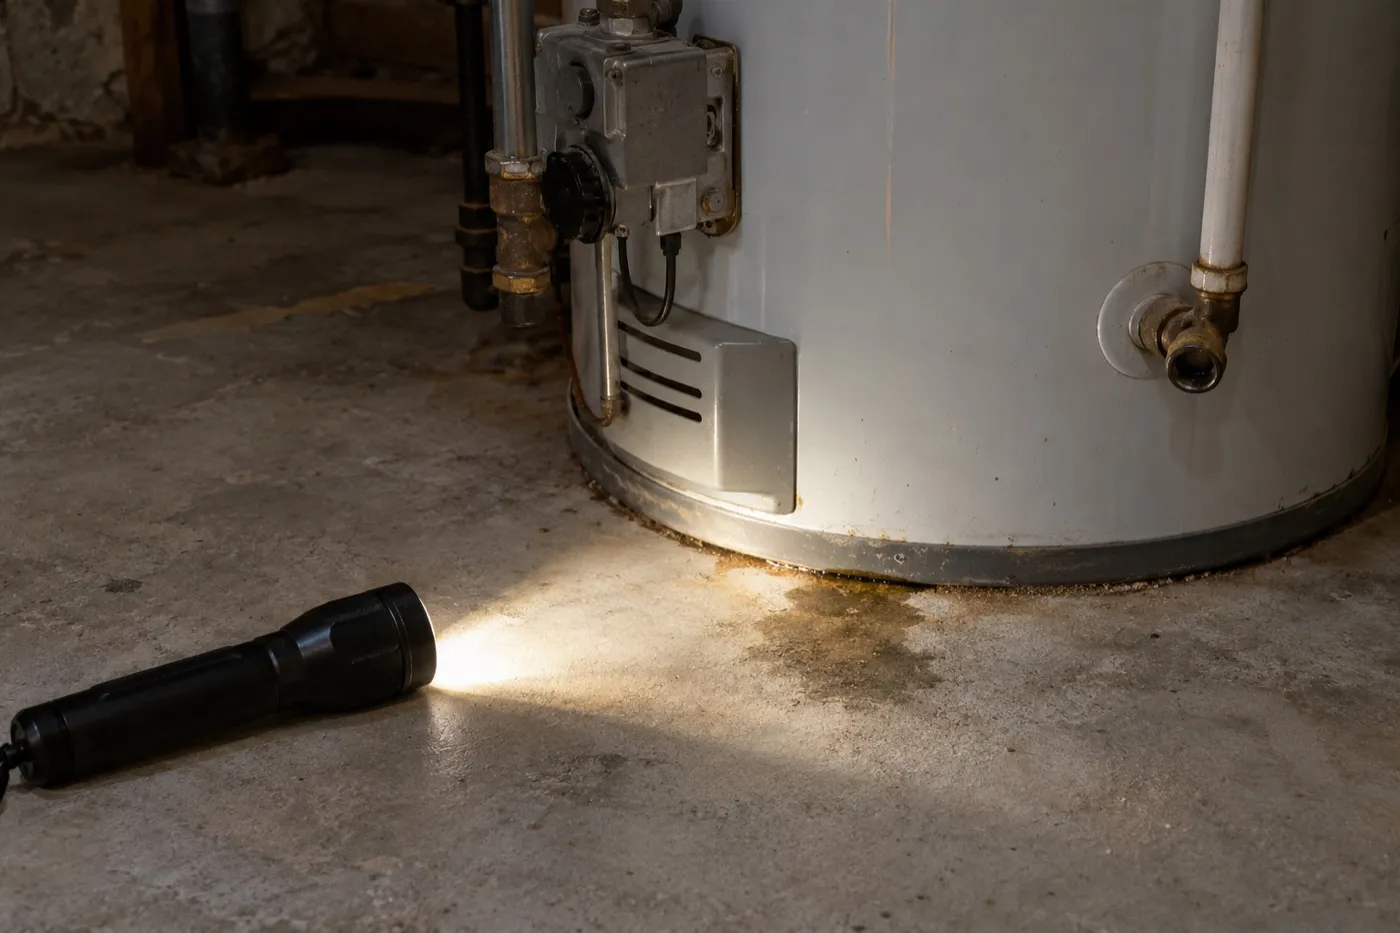
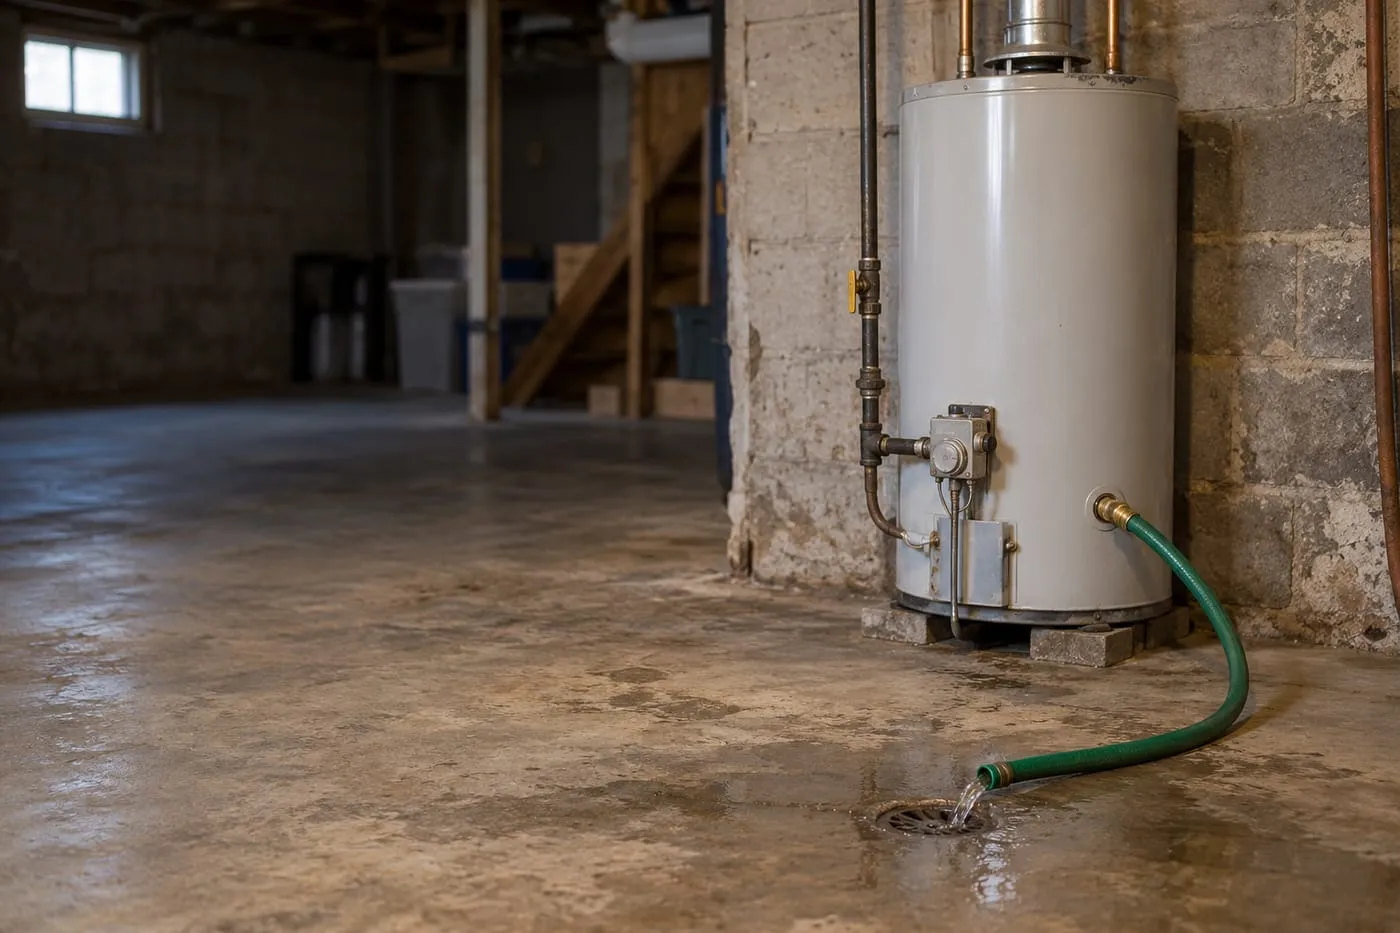
Look for rust or water around the base without removing any covers. Flushing means working with scalding water, an aging drain valve and the heater's power or gas, so have a plumber do it. More in our water heater maintenance guide.
Step 6: Dye-test the toilets
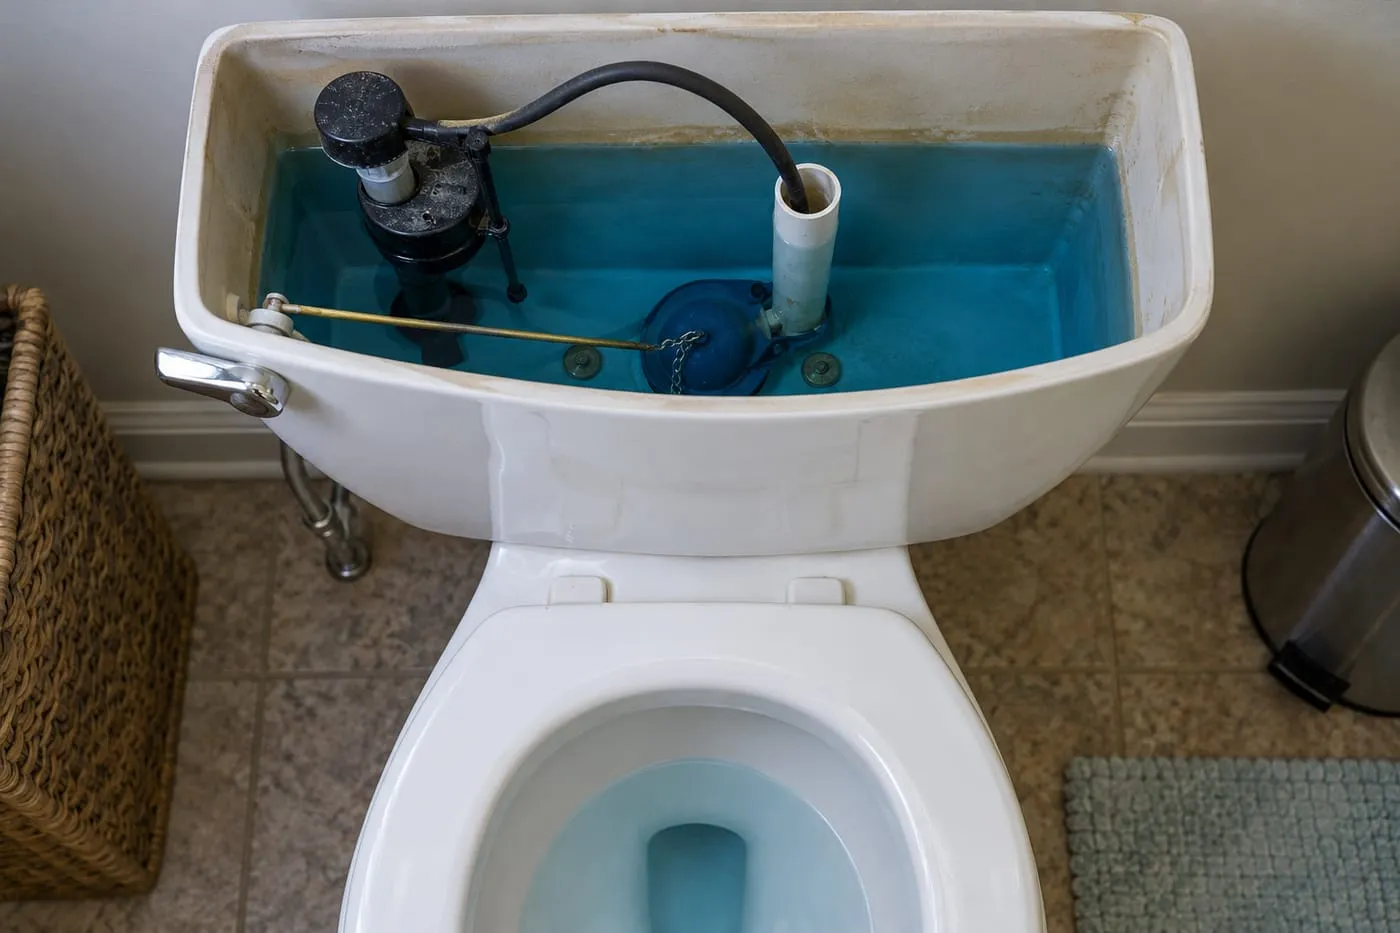
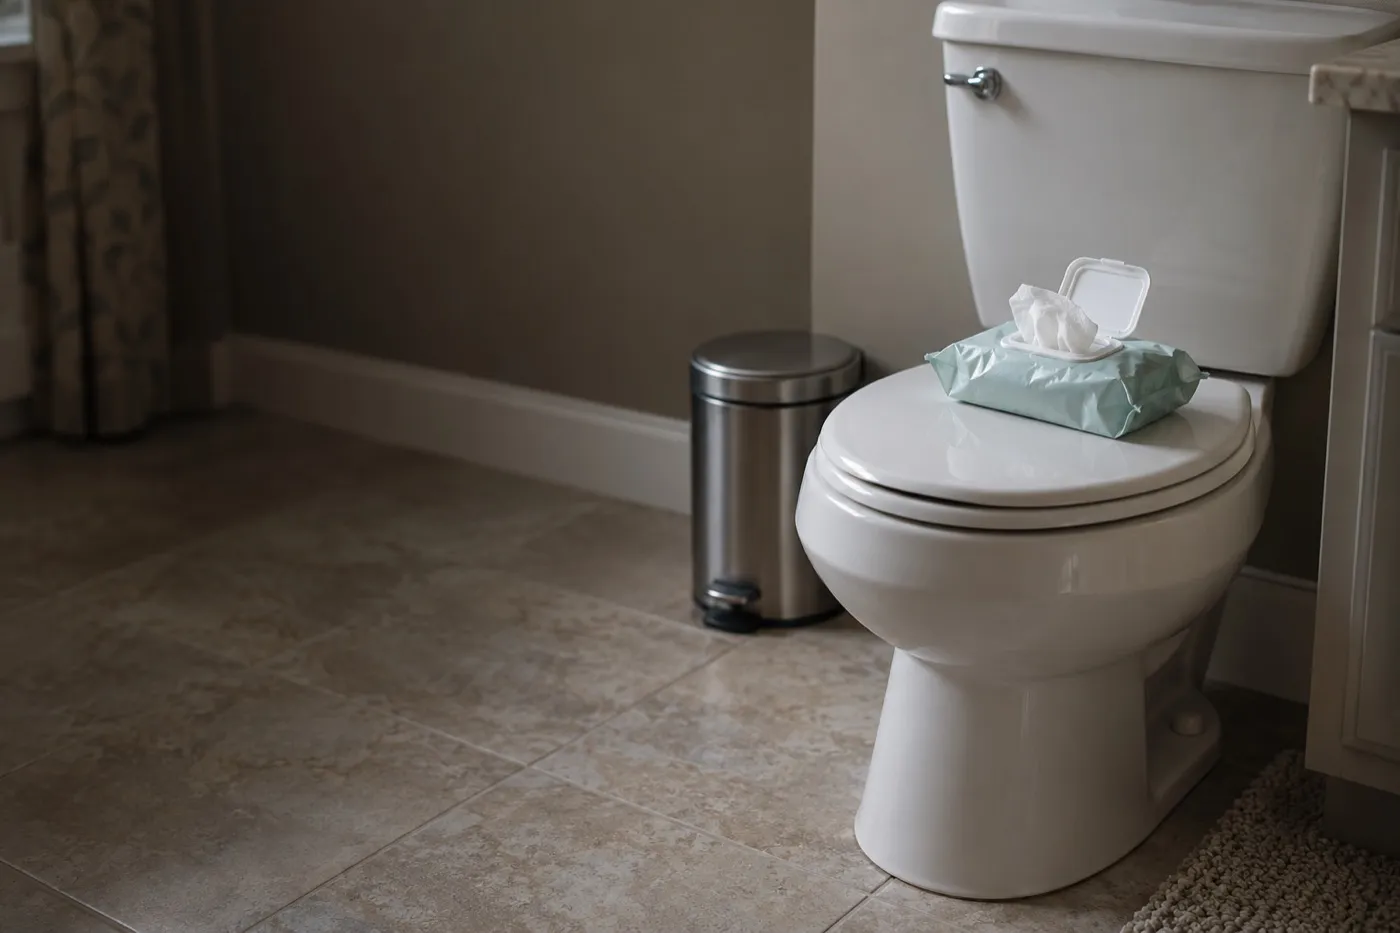
Put a few drops of food coloring in each toilet tank and wait 15 minutes without flushing. If color shows up in the bowl, the flapper is leaking and wasting water. It's an inexpensive part to replace.
Step 7: Clear slow drains
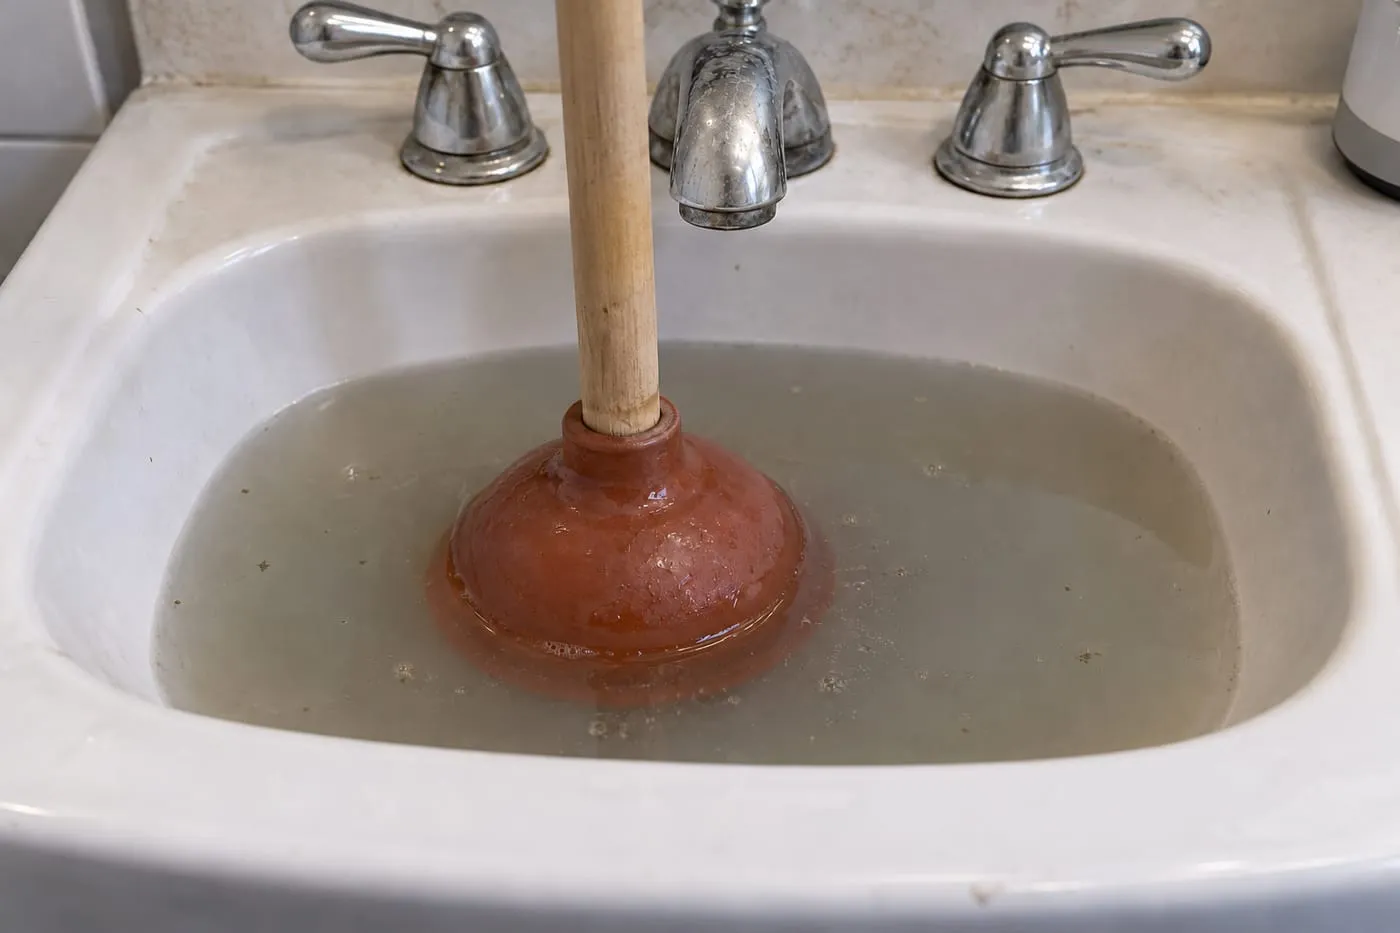
Plunge slow sinks and tubs and clean hair out of the stoppers. Skip chemical drain cleaners. If several drains are slow at once, or one gurgles when you flush, the main line may be partly blocked. See drain cleaning.
Step 8: Check the washing machine hoses
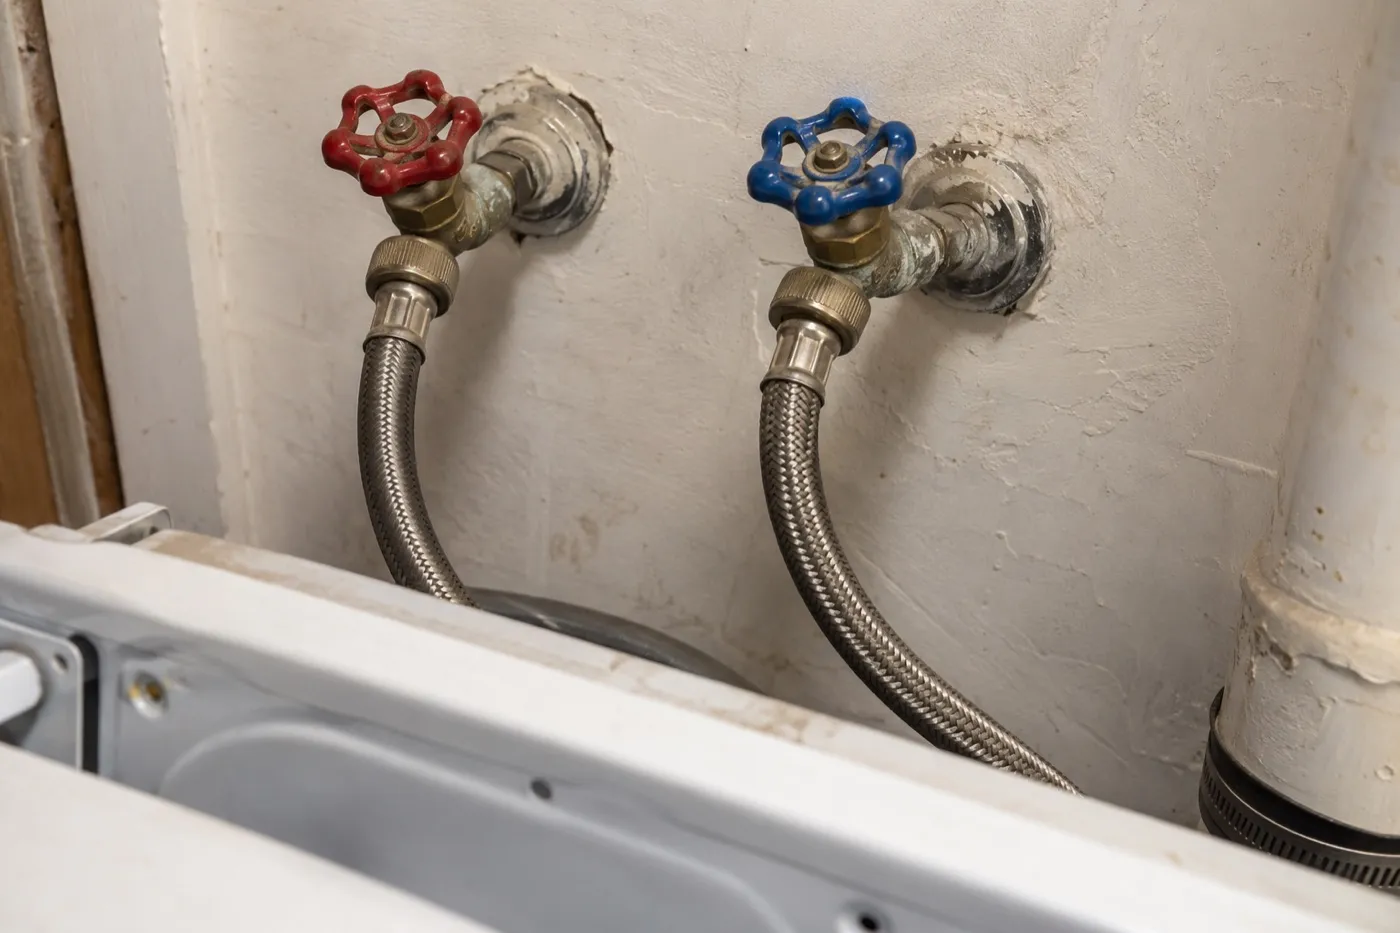
Pull the washer out a little and look at the supply hoses. Replace any rubber hose that's bulging, cracked or more than five years old with braided steel. More in how to prevent plumbing emergencies.
Want us to do the check?
A spring plumbing inspection covers the water heater, fixtures, visible pipes, shut-off valves, outdoor faucets and water pressure. Call 908-873-6686 or request service online. Written upfront flat-rate pricing options. You choose.
Get tips and reminders
New guides and seasonal reminders. A few emails a year.
Stop and call us if
- Water shows up inside the wall or basement when you run an outdoor faucet.
- The sump pump doesn't start, or runs but doesn't empty the pit.
- The water heater is leaking, rusty at the base, or getting older and making noise.
- Several drains are slow at once, or a drain gurgles when the toilet flushes.
Call 908-873-6686.

Michael Holt
Owner and operator of Plumbing Doctor, NJ Master Plumber (Lic. #36BI01345600) and U.S. Marine Corps veteran.
More about Mike